Unlock a world of possibilities! Login now and discover the exclusive benefits awaiting you.
- Qlik Community
- :
- Support
- :
- Support
- :
- Knowledge
- :
- Support Articles
- :
- How to authenticate with SendGrid in Qlik Applicat...
Options
- Subscribe to RSS Feed
- Mark as New
- Mark as Read
- Bookmark
- Subscribe
- Printer Friendly Page
- Report Inappropriate Content
How to authenticate with SendGrid in Qlik Application Automation
No ratings
Turn on suggestions
Auto-suggest helps you quickly narrow down your search results by suggesting possible matches as you type.
Showing results for
Support
- Mark as New
- Bookmark
- Subscribe
- Mute
- Subscribe to RSS Feed
- Permalink
- Report Inappropriate Content
How to authenticate with SendGrid in Qlik Application Automation
Last Update:
Jul 18, 2023 6:18:03 AM
Updated By:
Created date:
Sep 17, 2021 6:31:08 AM
This article outlines the steps to authenticate to the SendGrid Connector.
The SendGrid API uses the API Key authentication protocol. You will need to create an API Key to use the connector.
Content:
Creating an API key on SendGrid:
- Login to SendGrid.
- Navigate to "Settings" on the left navigation bar, and then select "API Keys".
- Click "Create API Key".
- Give your API key a name.
- Select "Full Access", "Restricted Access", or "Billing Access".
- If you're selecting Restricted Access, or Billing Access, select the specific permissions to give each category. For more information, see API key permissions.
- Click "Create & View".
- Copy your API key somewhere safe.
You will only be shown your API key one time. Please store it somewhere safe as it will not be able to be retrieved or restored.
There is a limit of 100 API Keys per account.
Linking your SendGrid account to Qlik Application Automation:
- Add a new blank automation (it does not need to be saved).
- Click on "Connections" on the top-left menu.
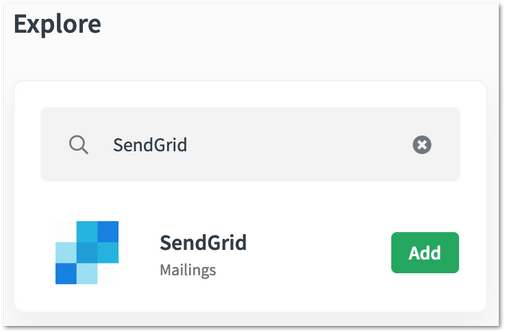
- Search for the "SendGrid" connector and then click on "Add" (visible when you hover over the connector).
- Enter your API key, then click on Save.
380 Views

