To bulk import specific AD users that are part of AD user groups into Qlik Sense, vs loading in all users in your directory, the best way to accomplish this is to leverage an LDAP filter. You would create this filter in your Directory Connector settings within the QMC.
In order to create the correct LDAP filter syntax/path, you can leverage a tool called ‘Active Directory Administrative Center’ either directly on your Windows Server where Qlik Sense is installed or from your Windows client machine (Windows 8, 8.1, or Windows 10) - this will help you to ensure you got the full syntax/path, without the correct syntax/path, your users will not import.
Step 1 will be to install the tool to assist you. Step 2 will be to enter in the correct syntax/path into the Directory Connector settings within the QMC.
STEP1: Install the tool.
If you have Windows 10 or Windows 8 installed, you can download an Admin tool that allow you to view/admin AD. https://www.technipages.com/windows-install-active-directory-users-and-computers
NOTE: This page links you to Microsoft for the appropriate download for the Admin Tool. That said, when you install the utility, it may take a bit of time to install, it may even look like it isn't doing anything or hangs, be patient, it should install. When installing the utility in the link above is complete, you will need to reboot your machine. Ensure to follow the steps as outlined in the link.
On Windows Server, if you don't see 'Active Directory Administrative Center' when you look under 'Tools' within the Server Manager, you will need to install an Admin Feature.
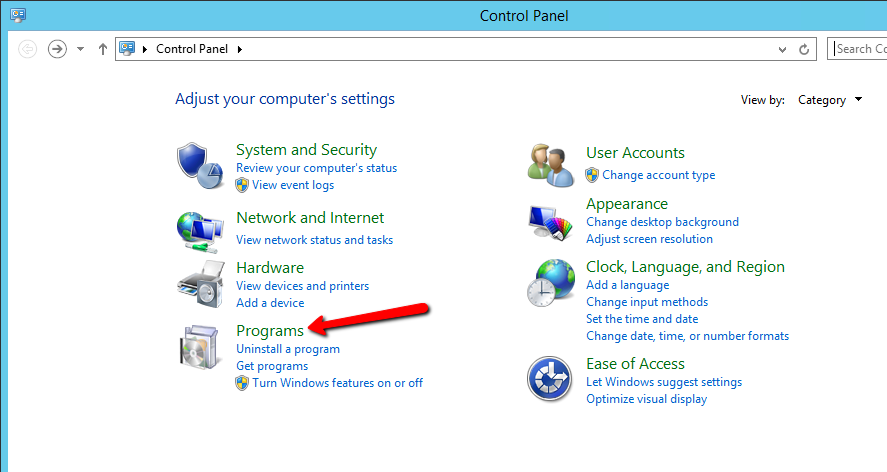
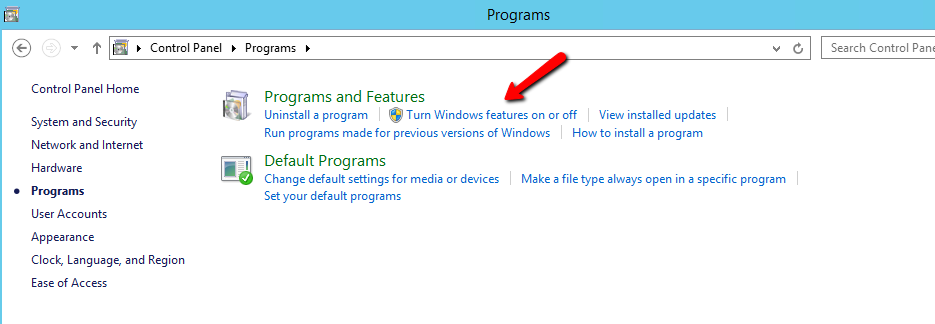
1. Go to Control Panel, click onto 'Programs' and select 'Turn Windows features on or off'.
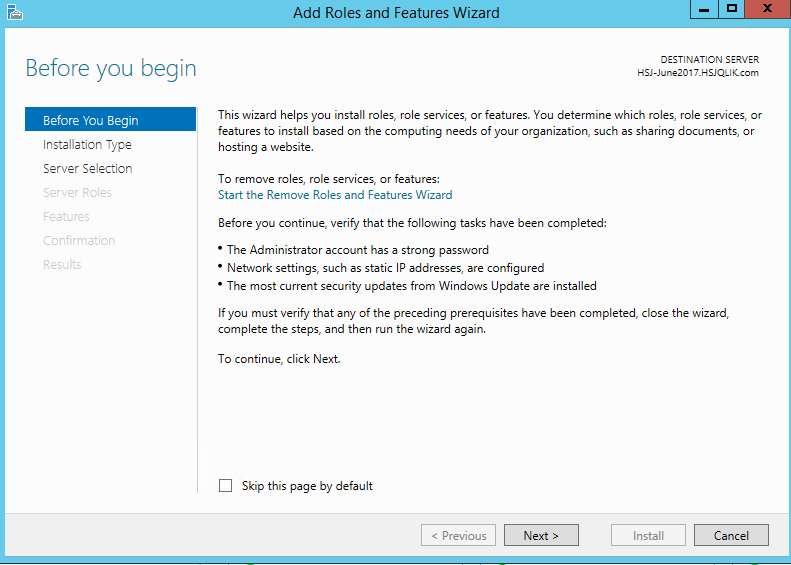
2. Click Next
3. Have Role-based or feature-based installation selected and click Next.

4. Click Next as your machine should be the default selected.

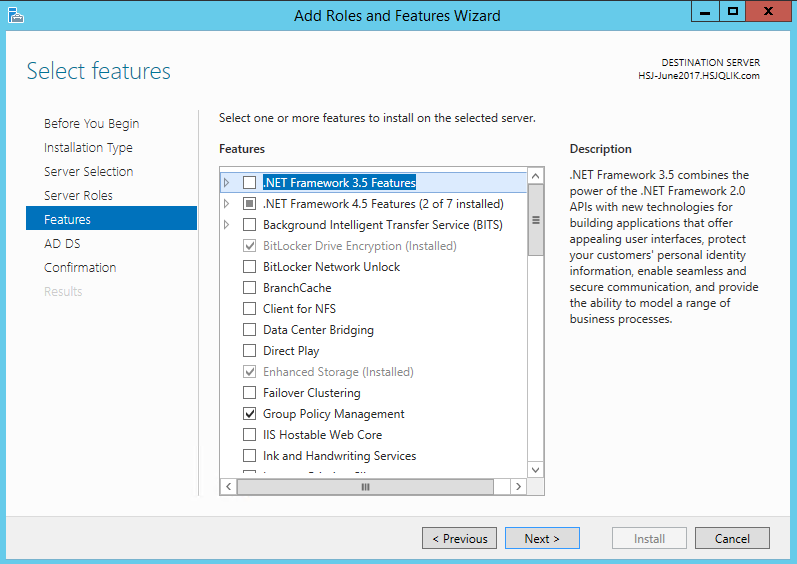
5. Select 'Active Directory Domain Services'. Click Next
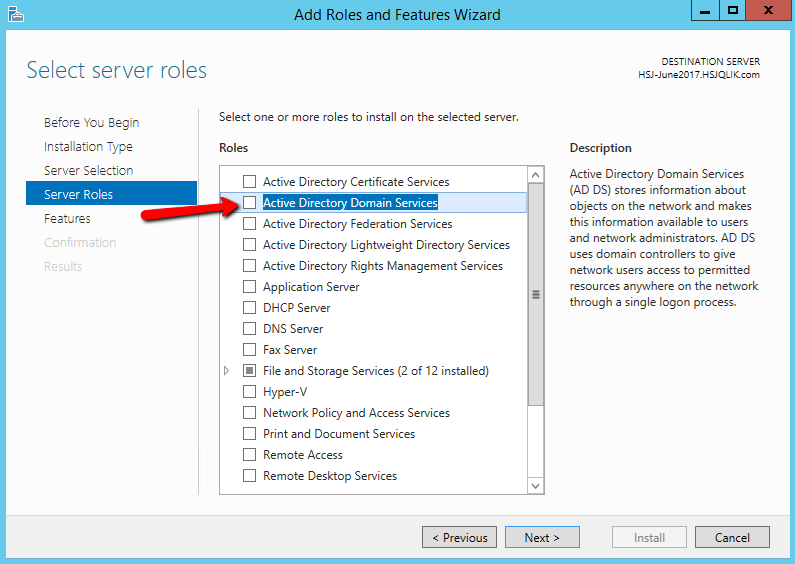
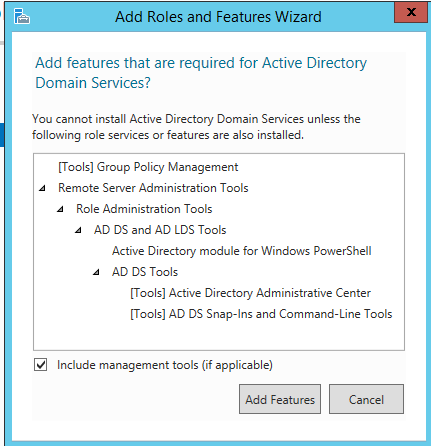
6. Notice under 'AD DS Tools' that the 'Active Directory Administrative Center' tool will get installed. Click Add Features.
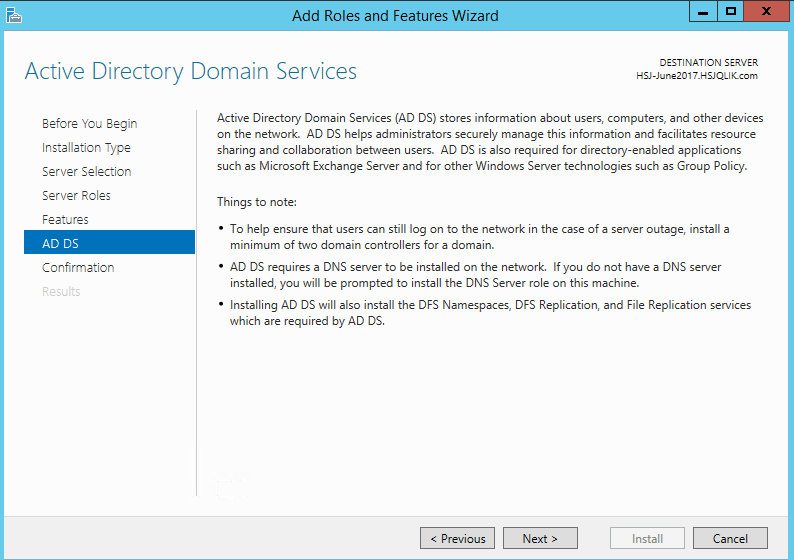
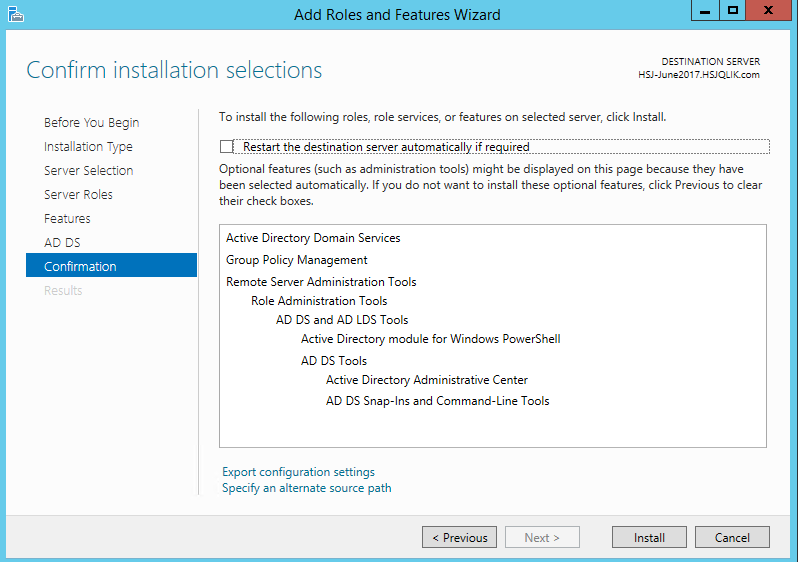
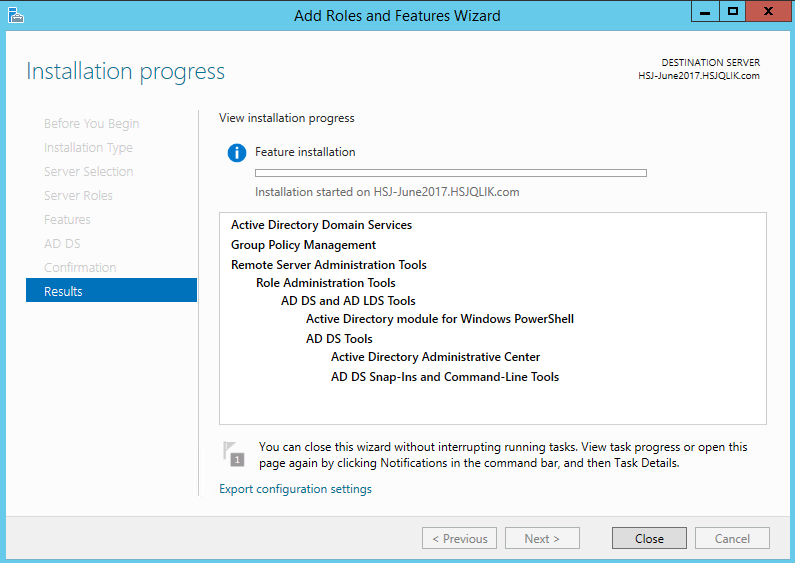
7. Click Next on the next 2 dialog boxes and click Install on the 3rd dialog one. The final dialog box will show the progress of the install.
STEP2: Leverage the Admin tool and Configure within Qlik
Now you may not be able to actually Admin AD, which could be a good thing if you're not an admin, however, once this utility is installed, you will be able to at least view required syntax/path to add users from specific groups.
For example, a customer request I recently had was to only add users from a specific group in AD. In this case, it was from a distribution list leveraged in Exchange. This means we need to add an AD filter in the Directory Connector that is configured in the Qlik Sense QMC.
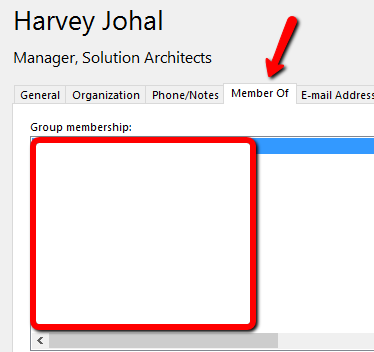
As a test, I only wanted to add direct members from a DL group we have in exchange (I've hidden the groups in the screen capture however I went into Outlook and looked up my 'Member Of' to see which group I wanted).
Once you know the name of the group, you can launch a utility called ‘Active Directory Administrative Center’ from ‘Control Panel\System and Security\Administrative Tools’.
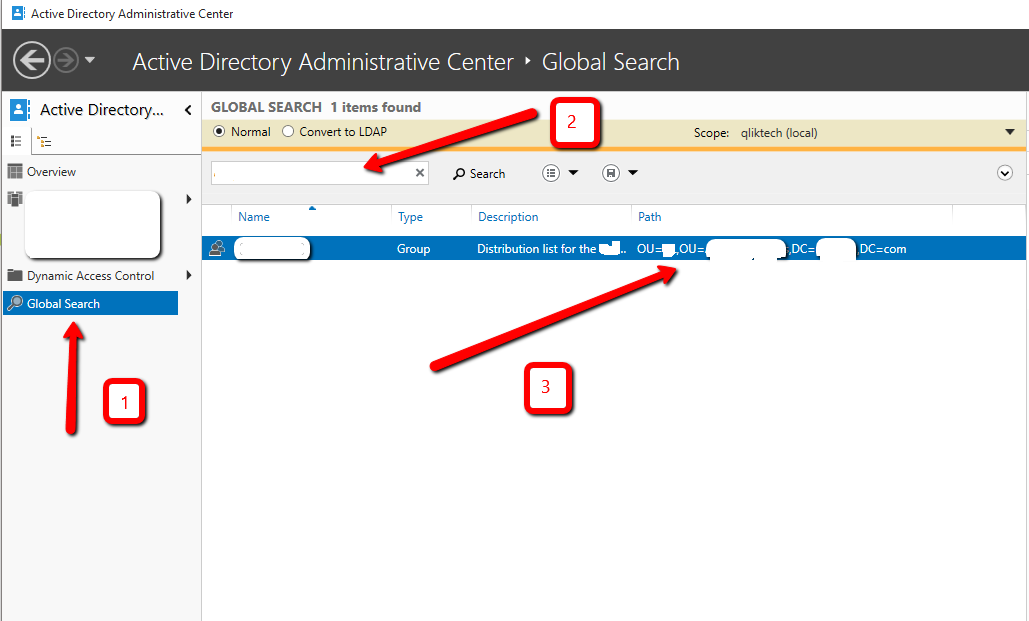
Once launched, you can search for a group or user (screen capture below).
- Click onto the Global Search
- Type in the names of the group to search for
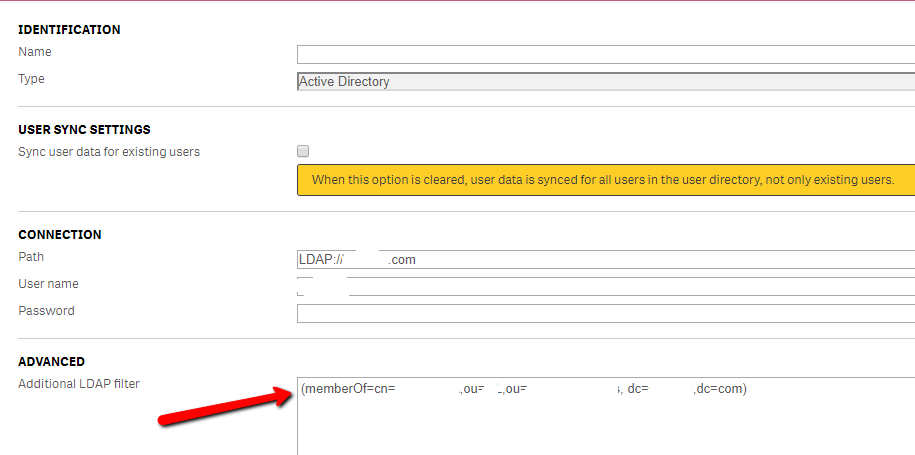
- Use the path exactly as seen in this utility in the AD Filter in the QMC; you’ll need to understand a bit more of the syntax, found here: https://social.technet.microsoft.com/wiki/contents/articles/5392.active-directory-ldap-syntax-filter.... Sample syntax below - notice that I hid the actual membership info for my test in the QMC screen capture, however, the example shows the cn (common name), the ou (organization unit), and dc (domain controller) syntax to use:

Once syncing the Directory connector, all of the members in the group appeared in my users list, and only those users vs the entire list of all users in the entire directory.