Unlock a world of possibilities! Login now and discover the exclusive benefits awaiting you.
- Qlik Community
- :
- Support
- :
- Support
- :
- Knowledge
- :
- Member Articles
- :
- How to Create Excel Reports with Nested Levels & S...
- Move Document
- Delete Document
- Subscribe to RSS Feed
- Mark as New
- Mark as Read
- Bookmark
- Subscribe
- Printer Friendly Page
- Report Inappropriate Content
How to Create Excel Reports with Nested Levels & Subtotals
- Move Document
- Delete Document
- Mark as New
- Bookmark
- Subscribe
- Mute
- Subscribe to RSS Feed
- Permalink
- Report Inappropriate Content
How to Create Excel Reports with Nested Levels & Subtotals
Begin Creating New Excel Report
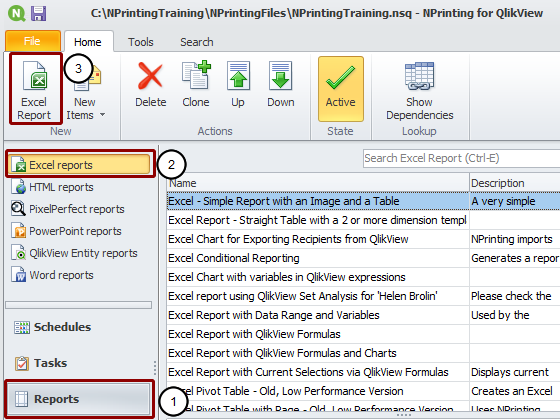
- Select Reports in the lower left pane
- Select Excel reports in the upper left pane
- Click on the Excel Report icon in the New group of the tool bar
Name and Describe New Report
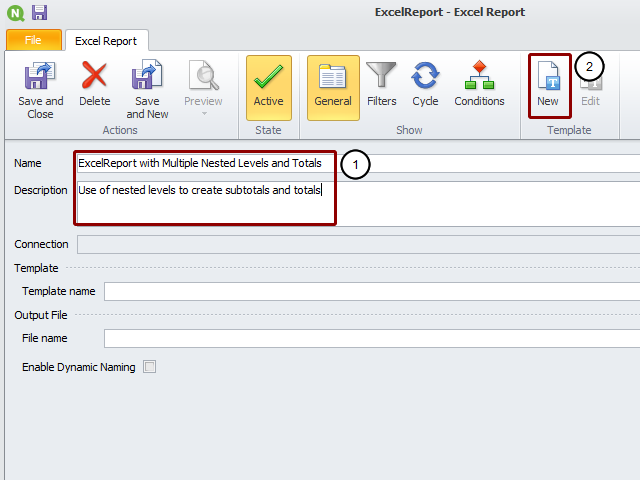
- Enter a Name and an explanatory Description. The Description is optional.
- Click on the New icon in the Template group to open the Template Editor
Add Levels to Template
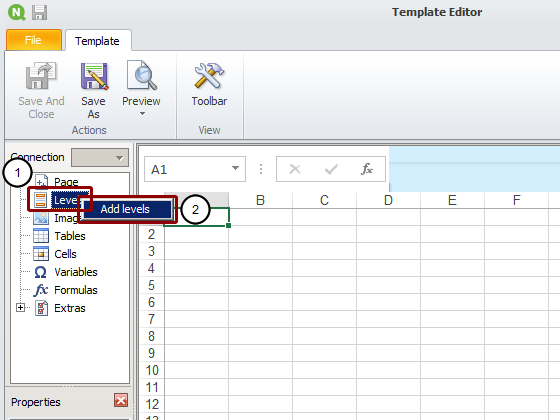
- Right click on the Levels node
- Click on the Add levels button
Select Levels to Add
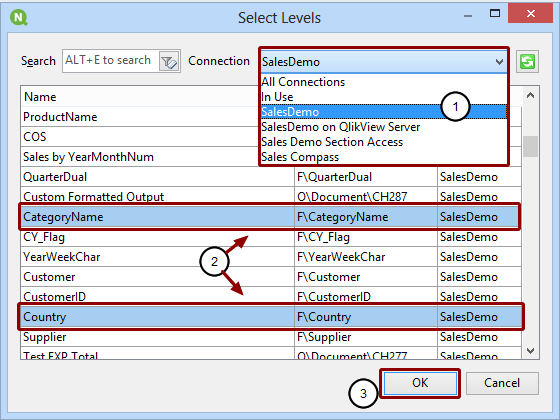
- Select the Connection to the QlikView document that contains the object you want
- Click on the Field or Object to add, Ctrl+Click to select additional Fields or Objects
- Click on the OK button
Add Object as Table to Template
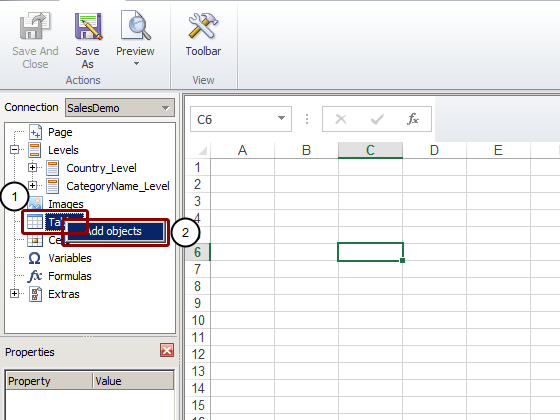
- Right click on the Tables node
- Click on the Add objects button
Select Object to Add to Template
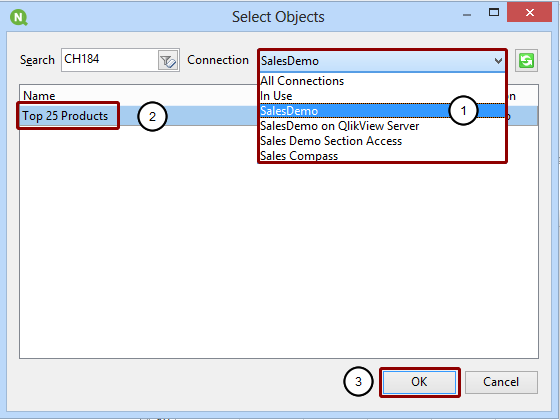
- Select the Connection to the QlikView document that contains the object you want
- Click on the Object to add, Ctrl+Click to select additional Objects
- Click on the OK button
Embed ProductName and Total Sales in Template
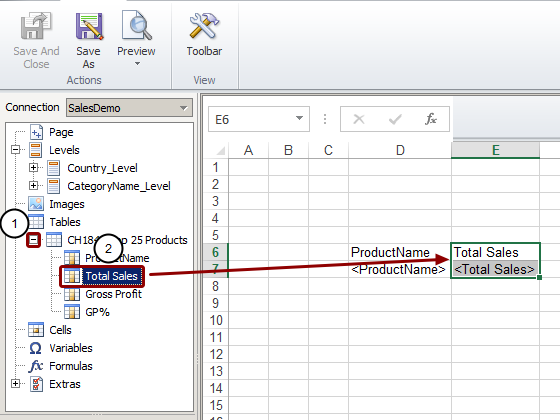
- Expand the CH184 - Top 25 Products node by clicking on the '+' on its left
- Drag the ProductName and Total Sales node tokens into the template and drop them on D6 and E6 respectively
Add Sum for Total Sales
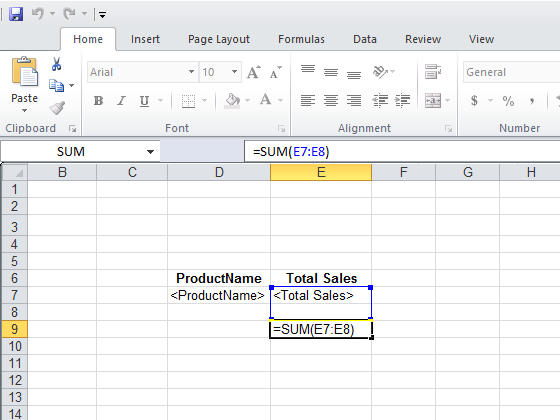
Enter =SUM(E7:E8) in cell E9. NPrinting will add rows as necessary to contain all values
Format Sum
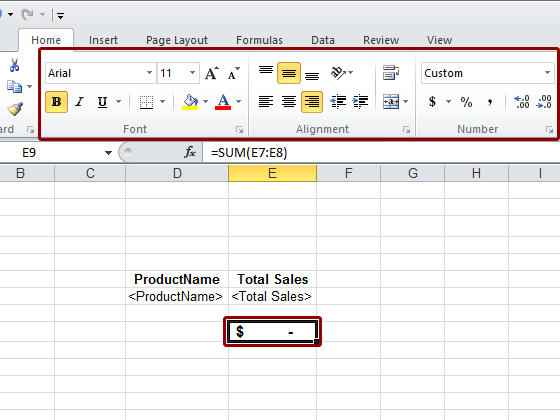
Format cell E9 to 11px, Bold, right justified, Custom = Accounting with no digits to the right of the decimal point.
Embed Country_Level in Template
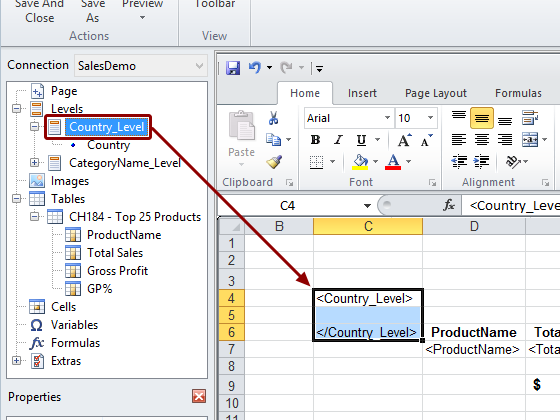
Drag the Country_Level node token into the template and drop it onto cell C4.
Adjust Country_Level Range
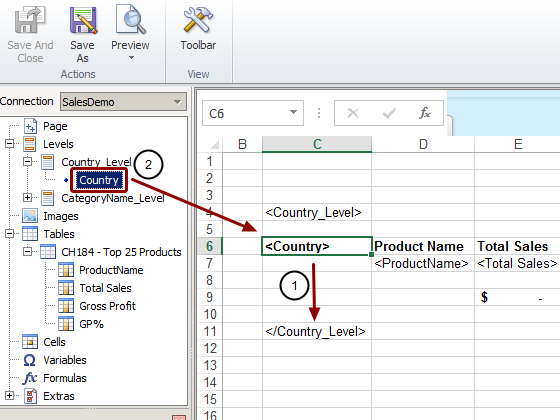
- Drag the </Country_Level> tag down to C11 so that the Country Level includes the cell containing the sum plus an empty row
- Drag the Country node token into the template and drop it onto cell C6
Format Country Tag
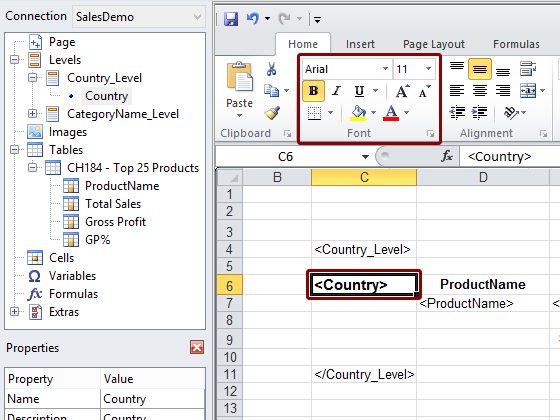
Format cell C6 to 11px, Bold.
Add Another Total to Template
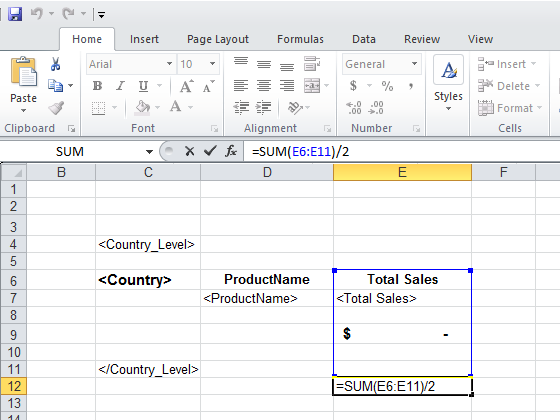
Enter the formula =SUM(E6:E11)/2 into cell E12. The sum is divided by 2 because the SUM function will add all the values including the sum of those values that is in cell E9. Format cell E9 to 11px, Bold, right justified, Custom = Accounting with no digits to the right of the decimal point.
Embed CategoryName Level and CategoryName Tag in Template
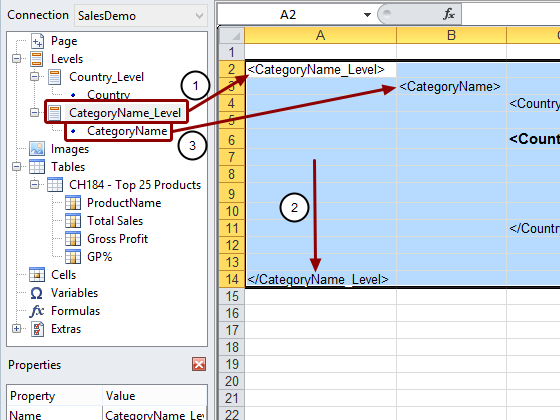
- Drag the CategoryName_Level node token into the template and drop it onto cell A2
- Drag the </CategoryName_Level> tag down to A14
- Drag the CategoryName node token into the template and drop it onto cell B3
Format CategoryName Tag
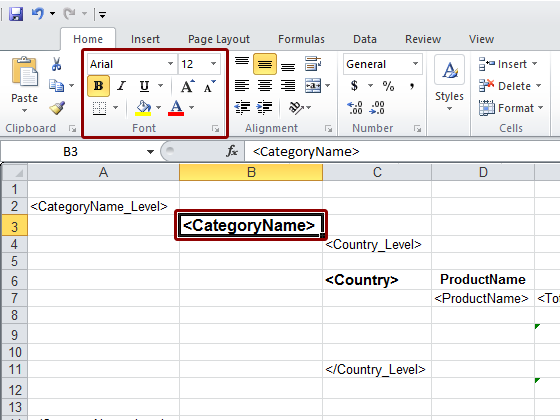
Format cell B3 to 12px, Bold.
Add Sum as Grand Total
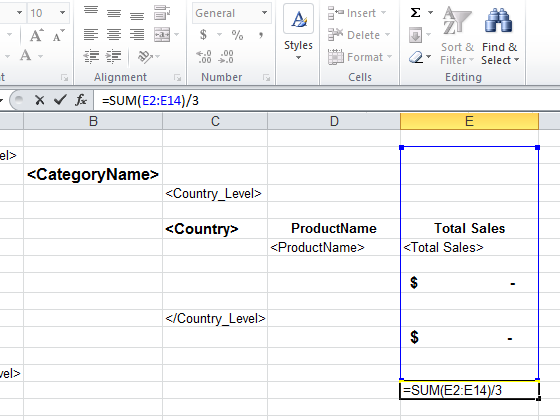
Enter the formula =SUM(E2:E14)/3 into cell E15. The sum is divided by 3 because the SUM function will add all the values including the subtotals in cells E9 and E12.
Format Grand Total
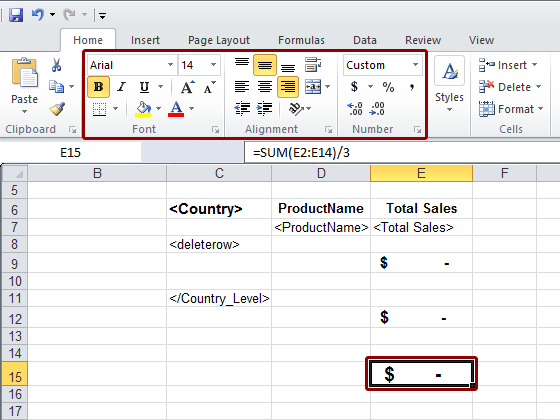
Format cell E15 to 14px, Bold, right justified, Custom = Accounting with no digits to the right of the decimal point.
Eliminate Empty Rows
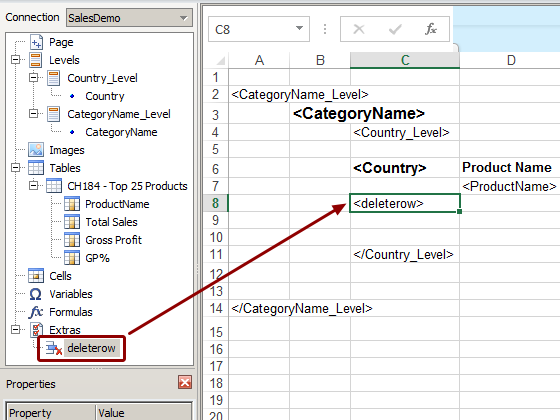
Drag the deleterow node token to any cell in an empty row that you desire or need to eliminate.
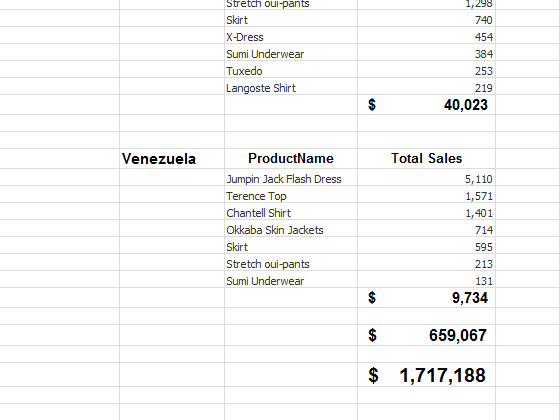
Inspect Report
Save Template
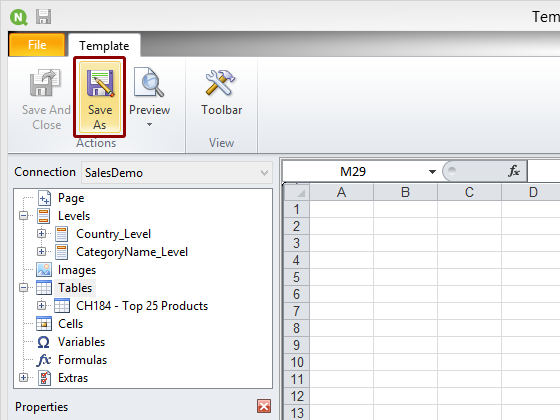
Set a Template File Name
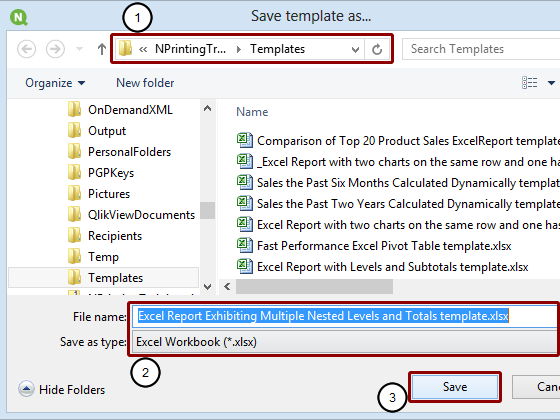
- Make sure the Save template as... window is open to C:\NPrintingTraining\Templates
- Enter a File name or accept the suggested name derived from the report name
- Click on the Save button