Description: New recipients can be created by cloning already existing recipients. Create exact copies of recipients by cloning them. Clones contain all of the information contained within the original Recipient including Recipient Filters if any. This is handy when the new recipient shares many characteristics with the already existing recipient. After cloning, you make the few necessary changes and voilà! Your done.
Clone a Recipient
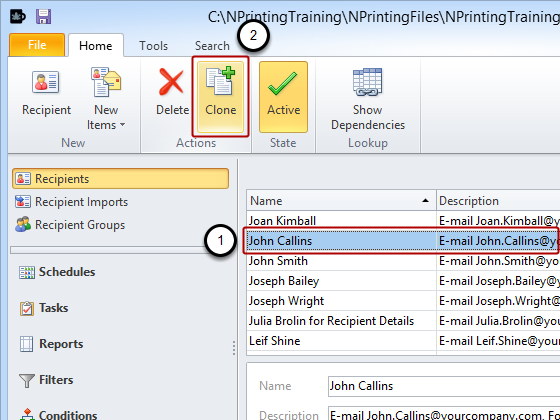
Select the recipient you want to clone from the list of Recipients
Click on the Clone button in the Actions group of the ribbon.
Cloned Recipient
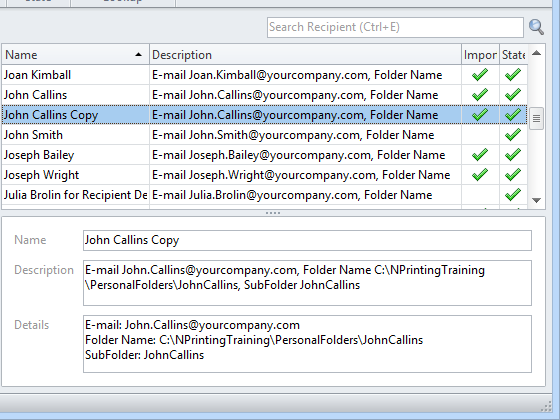
A new Recipient called "Recipient name” Copy has been created and appears at the bottom of the list.
Modify Cloned Recipient
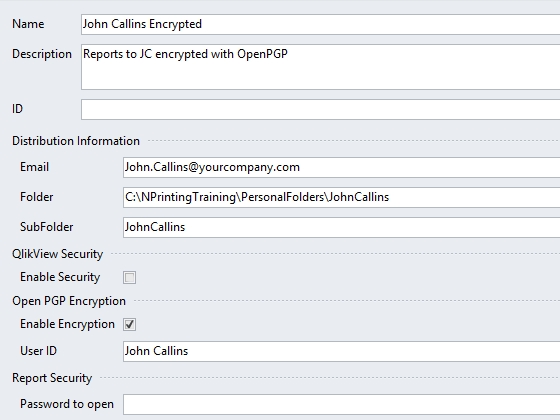
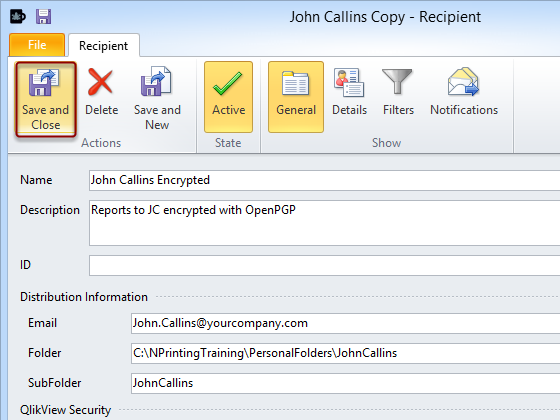
Double click on the new recipient, John Callins Copy, and adapt it to your needs.