Unlock a world of possibilities! Login now and discover the exclusive benefits awaiting you.
- Subscribe to RSS Feed
- Mark as New
- Mark as Read
- Bookmark
- Subscribe
- Printer Friendly Page
- Report Inappropriate Content
As Qlik developers, we are always looking for ways to maximize the development real estate in our apps. And sometimes, we (well me), tend to overcomplicate things in order to accomplish the task at hand.
For example, I was recently involved in a project to develop a Qlik Sense app where the ask was to create visualizations in which the dimensions were variations of a date. Users could choose to see the data by minute, hour, day, week, or month. I immediately started thinking of the potential ways to handle this in Qlik Sense.
My first thought was to create a chart for each of the date slices and then, using containers, pull each of the 5 visualizations into the container and finally, using conditional show/hide rules, show only one visualization at a time based on the user selection. When giving this approach more thought, I realized that I would have to create over 100 visualizations and store them as master visualizations. That was not going to work and, quite frankly, there had to be a better way.
After some thought, and collaboration with my teammates, I then decided that creating a calculated dimension was a more viable option. This approach allowed me to use only a single visualization for each measure that I was looking to display. Overall, it was a quicker and lighter solution to develop.
This is how I built it.
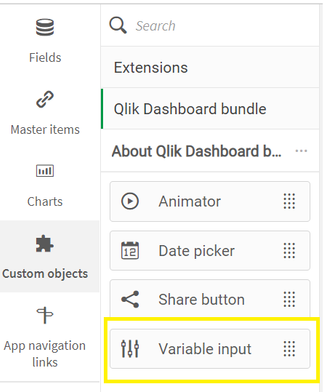
First, I used the Variable Input object to create the user defined date selector. This was good for 2 reasons. First, the user can only select one value at a time and second, the variable allowed me to customize the object based on the corresponding value of the variable.
I created the variable vViewGroup and in the Variable Input Object, I selected to show the variable labels as buttons and display them in a row. I then created the Labels to display in the object and their corresponding values to populate the variable.
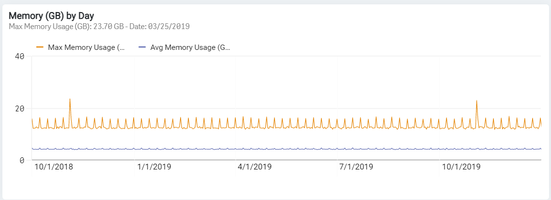
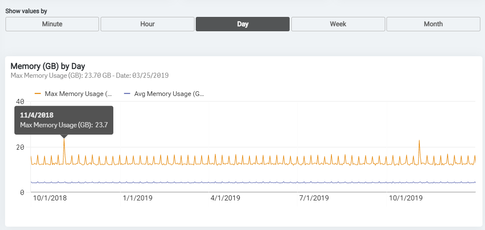
This is how the Variable Input Object displays on the sheet.
Once that was created, it was time to develop the visualization.
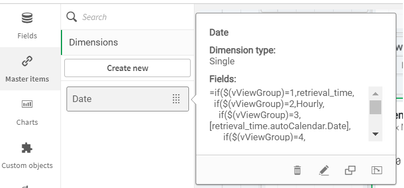
I had to first create a calculated dimension which used the vViewGroup variable to choose the date type.
Using a standard nested IF statement, I created the Date calculated dimension that allowed me to switch the dimension for the visualization on the fly based on the user’s input.
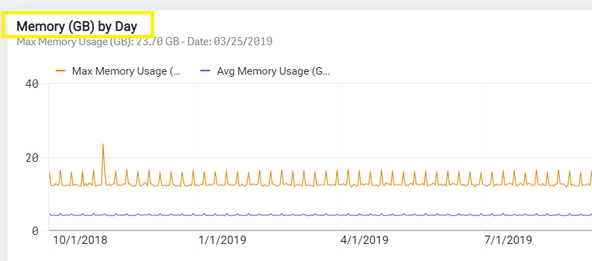
The final area that needed to change based on the user’s input was the visualization title.
In the Title property, I simply used the same nested IF statement from the calculated dimension, as part of the Title expression to Show the ‘Memory (GB) by’ and the user selected Date dimension.
That was it! I had created a single object with a variable dimension to show the data values against any of the 5 different date types.
Using this method to create the visualization saved me loads of development time and will help in the future should any of the objects need to be edited.
I hope you find this simple, yet powerful, approach useful in your future app development. Happy Qlikking!
You must be a registered user to add a comment. If you've already registered, sign in. Otherwise, register and sign in.
