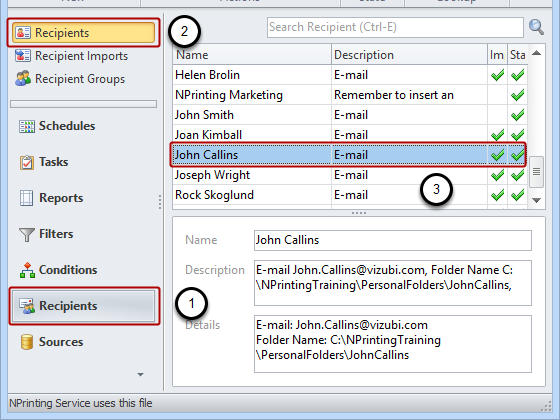
Description: Filters applied to recipients insure that each recipient receives only the data that is useful to him or her. Perhaps a recipient needs to receive only a part of the data from a data source, whether it be relevant to a particular period, specific fields, or values of those fields. The whole data set from a data source may not be pertinent to all the members of a group. Filters applied to recipients insure that each recipient receives only the data that is useful to him or her or that he or she is authorized to see. Here is how to add filters to recipients.
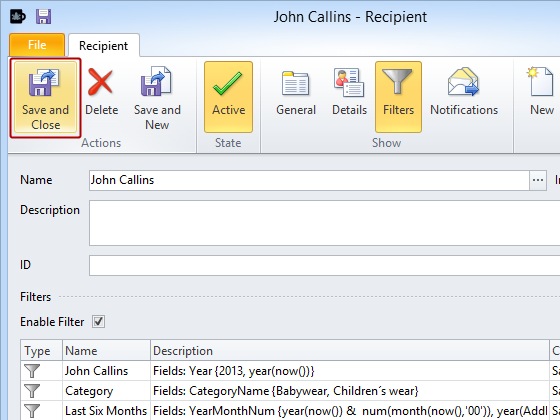
Recipients can be associated with one or more filters. A recipient, who is added to a Task, will receive output which is filtered according to the fields and values in the filters if the recipient's filters are active. Filtering parameters are: Field 1Value1 OR Field1Value2 AND Field2Value3 (e.g., filtering the country field for France and Germany and filtering the Year field for 2007 and 2008 will yield all sales in France AND Germany for the years 2007 and 2008).To add a filter to a recipient:
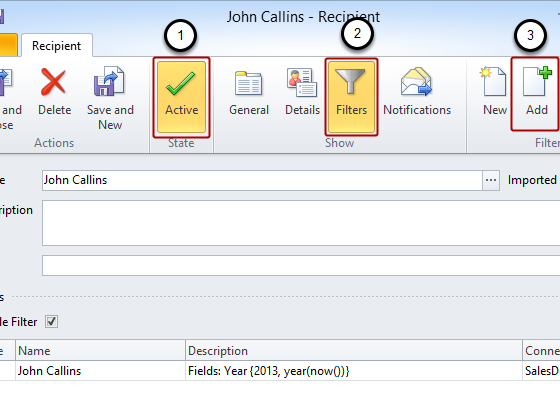
Note that the Active icon in the State group is "illuminated"
Click on the Filters button in the Show group of the ribbon
Click on Add to add from a list of existing Public Filters
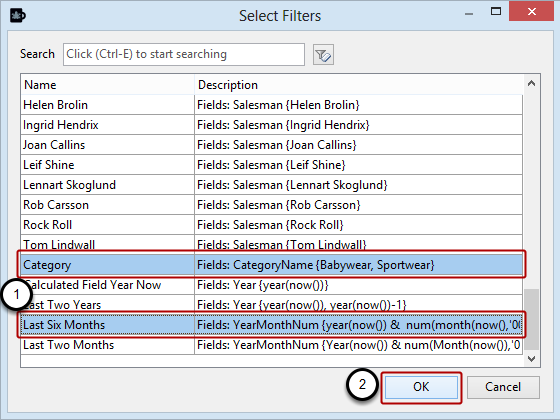
Select Public Filters
Select the filter(s) you want to associate with the recipient
Click on OK.
Note: Two or more filters added as above are applied as if part of an AND statement. The result is data for the last six months of only the categories Babywear and Sportwear. Two values given in the same filter are applied as in an OR statement. The result of the filter Category is the union of Babywear and Sportwear.
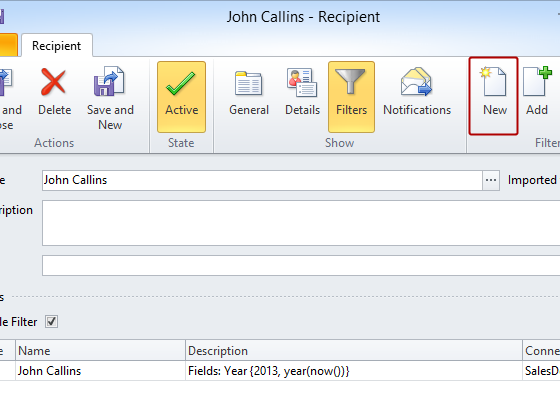
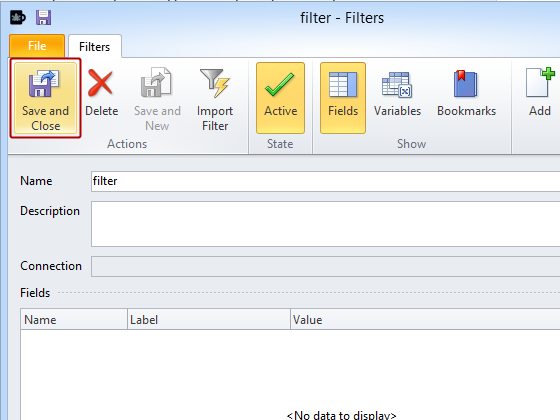
Create New Filters
Click on New to create a new filter
NB: Filters created from the Recipient window are called Recipient Filters and are only usable from within that recipient and its clones. You can view Recipient Filters in the filters window but you cannot associate them with other recipients, reports, or tasks. Create filters that you want to be generally applicable on the Filters page.