Unlock a world of possibilities! Login now and discover the exclusive benefits awaiting you.
- Qlik Community
- :
- Discover
- :
- Blogs
- :
- Product
- :
- Design
- :
- 8 steps to customize your QlikView apps with Googl...
- Subscribe to RSS Feed
- Mark as New
- Mark as Read
- Bookmark
- Subscribe
- Printer Friendly Page
- Report Inappropriate Content
One of the topics we always cover in our data visualization training courses is the font family selection within your app. With the increasing number of devices and platforms accessing to your QlikView apps, details such as font size and type have become in a very important piece of the app success.
As a rule of thumb our recommendation is to keep your app as simple as possible, meaning using Arial or any other font that work well across devices. It’s important to note that fonts such as Tahoma or MS Calibri will force those devices that don’t come with those fonts installed, to pick an alternative font based on the font family. That may cause your app to be unreadable and/or blurry in some situations.
But let’s say you really need to use a non-standard typeface to customize one of your apps. Is that doable with QlikView?
The answer is yes, you can customize QlikView apps based on your needs and use an external font from Google or any other font servers.
To do so you will need to install and customize a document extension – you can download it at the bottom of this post - and then follow the next steps:
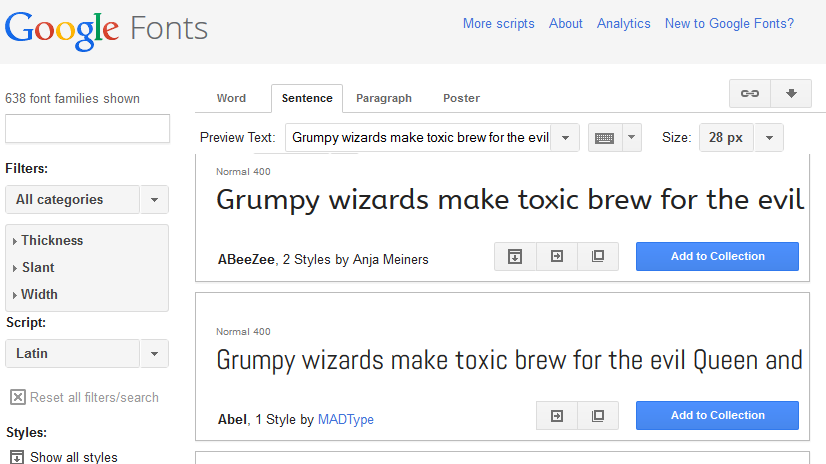
1. Search or browse font families at google.com/fonts you want to use in your QV app For this example, I’m going to pick the Abel font for my project, one of the many open source fonts hosted at google.com/fonts. You could choose a different provider or just host the font file on your own server.

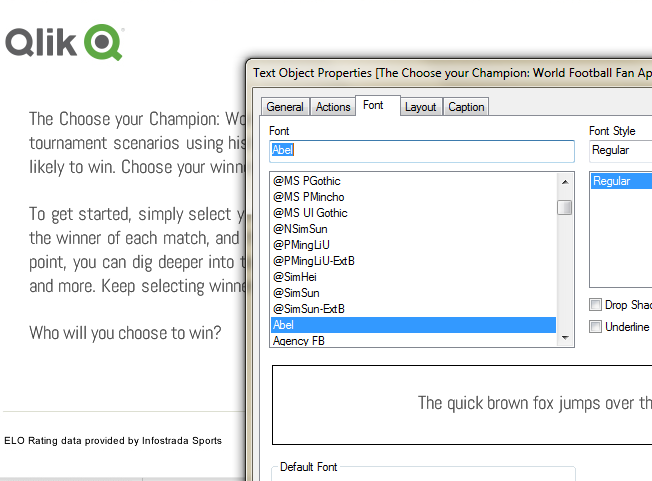
2. Once you have chosen your font, grab a copy of the font file and install it on the computer where you are developing your app and in the machine(s) that host the QlikView Server(s). This is especially important: you must install the font on the QV server host machine if you want your charts to be rendered using the selected font.
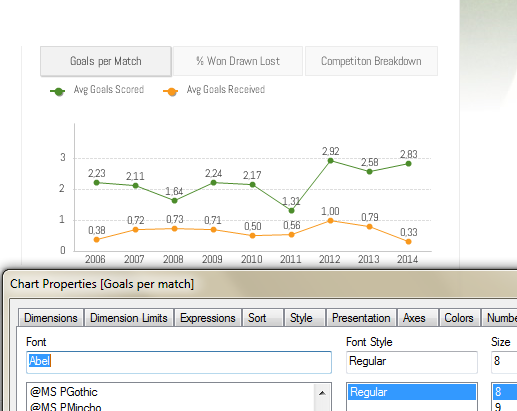
3. Open your QlikView app with QlikView Desktop and modify the font as usual:


4. Once we are done applying your font across all the app objects it’s the time to review the document extension.
5. Download the extension attached at the bottom of this post, rename the file from ExtensionName.qar to ExtensionName.zip and unzip it.
A document extension will include at least 2 files, Definition.XML and Script.js.
The JS file will look like the example below where Abel is the font I chosen.
Qva.AddDocumentExtension('customfonts', function(){
//Load a CSS style sheet
Qva.LoadCSS("http://fonts.googleapis.com/css?family=Abel");
});
Edit Script.js file and modify it to include your chosen font name as in the example above.
Compress the 2 files into a zip file and then rename it as ExtensionName.qar
6. Install the document extension in your environment.
More info on how to do it here: http://www.qlikblog.at/1597/qliktip-40-installingdeploying-qlikview-extensions/
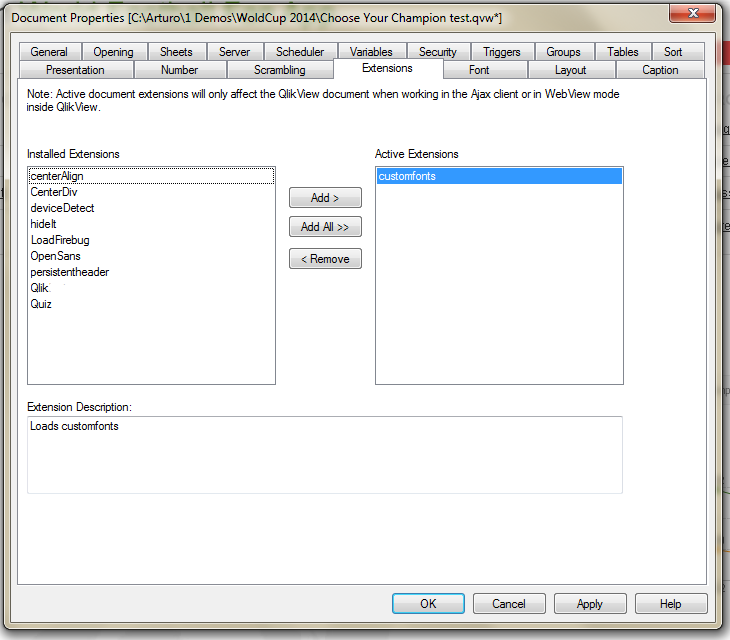
7. Go back to QlikView and activate the document extension in the app:

From now on when the page loads, QlikView will include the extension and the font will be loaded across devices.
8. Publish your app to the server and enjoy your custom fonts in any device.
As a general recommendation you should stick to one of the 'standard' fonts such as Arial but in the case of you trying something new, following the described 8 steps you should be able to deploy a QV app to a server with a non-standard font on it.
PROS: Wide range of font styles to choose from, easy app customization, web standard fonts, works well across any device.
CONS: Web only, small impact on page load time.
Enjoy Qliking!
Arturo
- « Previous
-
- 1
- 2
- 3
- 4
- …
- 7
- Next »
You must be a registered user to add a comment. If you've already registered, sign in. Otherwise, register and sign in.