Unlock a world of possibilities! Login now and discover the exclusive benefits awaiting you.
- Qlik Community
- :
- Blogs
- :
- Technical
- :
- Design
- :
- Mashup Editor - Create multiple drop down selectio...
- Subscribe to RSS Feed
- Mark as New
- Mark as Read
- Bookmark
- Subscribe
- Printer Friendly Page
- Report Inappropriate Content
In an earlier tutorial I described how to create a bootstrap drop down Mashup Editor - Create a Bootstrap Drop Down selection menu
What if you need to create more than one drop down in a single page? For this, I have create a simple reusable object that you can call as many times as you need.
Open the files from the previous tutorial and start making some changes.
- We will remove the function showData of Line 115 and the app.createList from Line 137.
- We need to add our data holders.
var data = {
    hq: {},
    rf: {}
};
- Then, our function that will be getting the list data.
function getFieldData (field, callback, title) {
  app.createList({
       qDef: {
            qGrouping: "H",
            qFieldDefs: [
                 field
            ],
            qSortCriterias: [{
                 qSortByAscii: 1,
                 qSortByLoadOrder: 1
            }],
       },
       qInitialDataFetch: [{
            qTop : 0,
            qLeft : 0,
            qHeight : 1000,
            qWidth : 1
       }],
       qShowAlternatives: false,
       }, function(reply) {
            field = (title) ? title : field;
            data.hq[field] = reply.qListObject.qDataPages[0].qMatrix;
            refactorFieldData(field);
            callback(true);
       });
  };
- Refactor Data to a more readable format rather than qText etc.
  function refactorFieldData (field) {
       var tdata = [];
       $.each(data.hq[field], function(key, value) {
            if (value[0].qState!=='X') {
                tdata.push(value[0].qText);
            }
       });
       data.rf[field] = tdata;
  };
- Now, we need to add a function the will create the bootstrap drop down menu
function createFieldFilter (field, fieldName) {
     fieldName = (fieldName) ? fieldName : field;
     if (data.rf[field].length > 1) {
          var $element = $('#dropdown'+field + ' ul');
          $element.empty();
          $.each(data.rf[field], function(key, value) {
               $element.append('<li><a data-select="'+ field + '" data-fieldname="'+ fieldName + '" data-value="'+ value + '">'+value+'</a></li>');
          });
     }
};
- Add the Html code. Make sure that the id starts with dropdown and have the Field name at the end
<div class="dropdown" id="dropdownYear">
     <button class="btn btn-default dropdown-toggle" type="button" data-toggle="dropdown" aria-haspopup="true" aria-expanded="true">
          Select Year
          <span class="caret"></span>
     </button>
     <ul class="dropdown-menu scrollable-menu" aria-labelledby="dropdownYear"></ul>
</div>
- Lets add the code that will bind all of these into one statement
getFieldData('Year', function () {
     createFieldFilter('Year');
});
This will get all of the data for the field 'Year' => add it into the object data.hq['Year'] => refactor it into a more readable format => put into data.rf['Year'] => createFieldFilter will look for the id dropdown+field and add the elements.
- You can repeat the last javascript and html code for as many drop downs you would like to make. For this instance, I will recreate the 'Case Owner Group' from the last tutorial
- HTML
<div class="dropdown" id="dropdownCaseOwnerGroup">
     <button class="btn btn-default dropdown-toggle" type="button" data-toggle="dropdown" aria-haspopup="true" aria-expanded="true">
          Select Department
          <span class="caret"></span>
     </button>
     <ul class="dropdown-menu scrollable-menu" aria-labelledby="dropdownCaseOwnerGroup"></ul>
</div>
- JS
getFieldData('Case Owner Group', function () {
     createFieldFilter('CaseOwnerGroup', 'Case Owner Group');
}, 'CaseOwnerGroup');
You see in this one I am passing 2 parameters. This is because the field name has spaces and it will cause issues. So the first parameter is the name we will be using through out our code and the second, is the one that we will use to communicate with Sense for data retrieval and data selection.
- Finally, let's alter the on click event that handles the selections on Line 108 to this:
$('body').on( "click", "[data-select]", function() {
     var field = $(this).data('select');
     var fieldName = $(this).data('fieldname');
     var value = $(this).data('value');
     app.field(fieldName).selectValues([value], true, false);
     $('#dropdown'+field + ' button').html(value + ' <span class="caret"></span>');
     $('#dropdown'+field + ' ul li').removeClass('active');
     $('#dropdown'+field + ' ul li:contains(\''+value+'\')').addClass('active');
});
- If you want to use the 'ClearAll' button from the top toolbar then you will need to add in Line 72 under the case 'clearAll' :
  $('#dropdownCaseOwnerGroup button').html('Select Department <span class="caret"></span>');
  $('#dropdownYear button').html('Select Year <span class="caret"></span>');
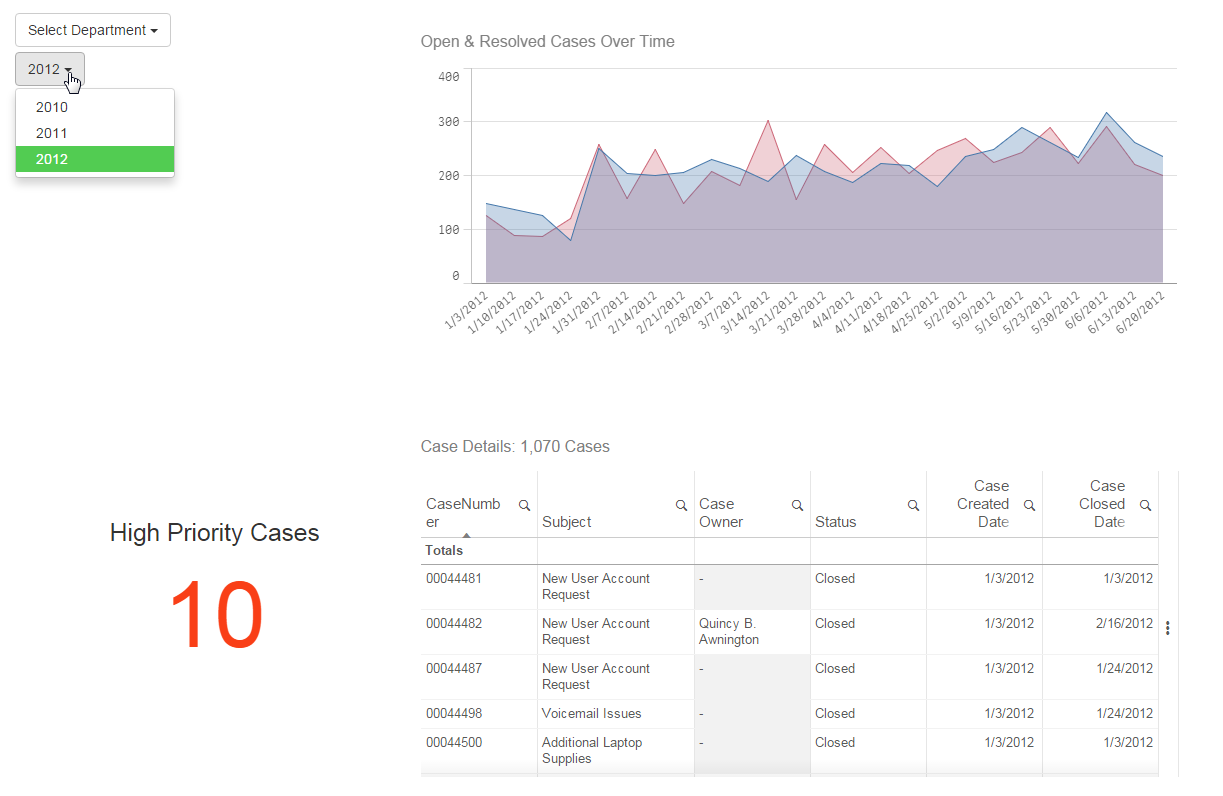
Our webpage should like this now
That's it. Let me know if you run into any issues. I will be more than glad to help you with this!
Yianni
You must be a registered user to add a comment. If you've already registered, sign in. Otherwise, register and sign in.