Unlock a world of possibilities! Login now and discover the exclusive benefits awaiting you.
- Qlik Community
- :
- Blogs
- :
- Technical
- :
- Design
- :
- Qlik Sense Bot with Node.js and Enigma.js
- Subscribe to RSS Feed
- Mark as New
- Mark as Read
- Bookmark
- Subscribe
- Printer Friendly Page
- Report Inappropriate Content

Hello everyone. After I saw the popularity of Juan's Qlik Bot for Telegram written all in C#, I decided to create another one in JavaScript with Node.js and Enigma.js. Today I am going to share with you the code and how to get started creating your own bot for Telegram on any Operating System that has Node.js installed.
The server will be running under https so if you do not have valid certificates for your domain, or localhost if you are testing it on your local computer, you can have Qlik Sense Enterprise take care of that for you. From QMC, go to start->Certificates and then export for localhost using the "Platform Independent PEM-format"
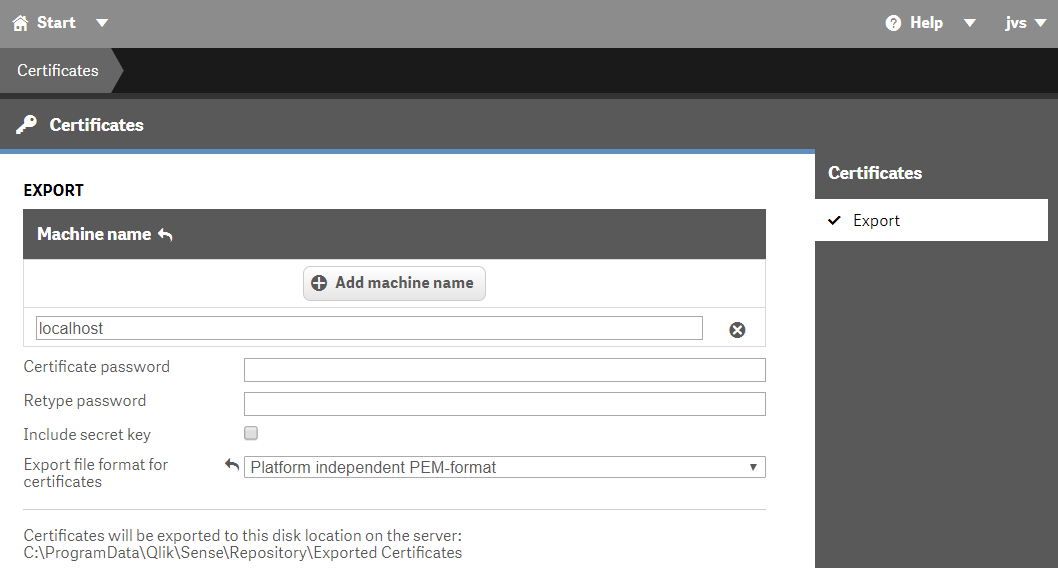
Copy these certificates and paste them into {QlikBotNode folder}/app/server/certs/localhost
I have used 3 apps in this, helpdesk, Salesforce and CIO dashboard. The qvf for helpdesk is bundled in your Qlik Sense Desktop while the Salesforce one you can get from Salesforce/Files at master · yianni-ververis/Salesforce · GitHub and the CIO Dashboard one from CIO/Files at master · yianni-ververis/CIO · GitHub.
Now lets get the code from GitHub - qlik-bots/QlikBotNode: QlikBotNode is a server build in nodejs, expressjs and MySql that co...
From the command line using your favorite tool, I am using Git Bash for this one, type Npm install to get all of the required modules.
Install MySql or Xampp / Wamp and connect to it. Xampp is bundled with phpmyadmin so you can use that. Then create the database and the tables by running sql query (QlikBotNode/sensebot.sql at master · qlik-bots/QlikBotNode · GitHub)
Every platform, upon creation of the bot, it gives you some tokens so your code can authenticate with the platform's servers. Once we have these tokens, for security reasons, we need to set them as environment variables. So, lets create our bot and get our token.
Once you install Telegram Desktop, go to your "BotFather" contact and type "/newbot". Everything in Telegram that starts with "/" is a command. So we typed the command to create a new bot. This will give you an options menu to configure your bot.
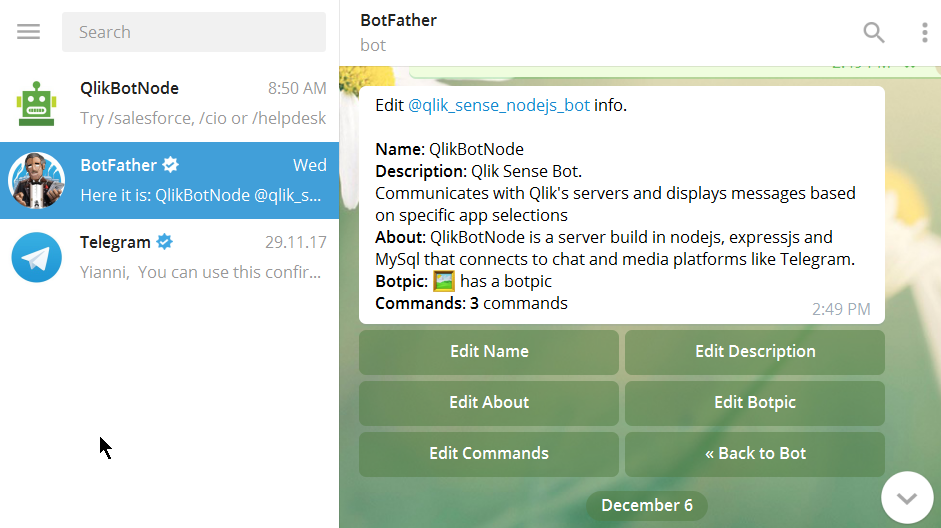
Go ahead and give your Bot a name, an icon and a description. If you click on "Back to Bot", you will get a button with the "API Token". Take that token and store it as Environment Variable.
In windows you have to go to "Control Panel" -> "System" -> "Advanced System Settings" -> "Environment Variables" and set a new one as "TELEGRAM_BOT_TOKEN", while in Linux, from your directory (~), type "nano .bash_profile" or "vim .bash_profile" and enter a new line with the token "export TELEGRAM_BOT_TOKEN=######".
Now you should be ready to run your code. From the command line (Git Bash), type "gulp". If everything goes well and you do not have any errors, you should see a message "[nodemon] starting `node app/server/server.js`". Your server is up and running and communication via the Token auth has been established.
Now lets explore the Bot.
- Type
helpto view all of the available commands
- Click on the Salesforce button or type
/salesforce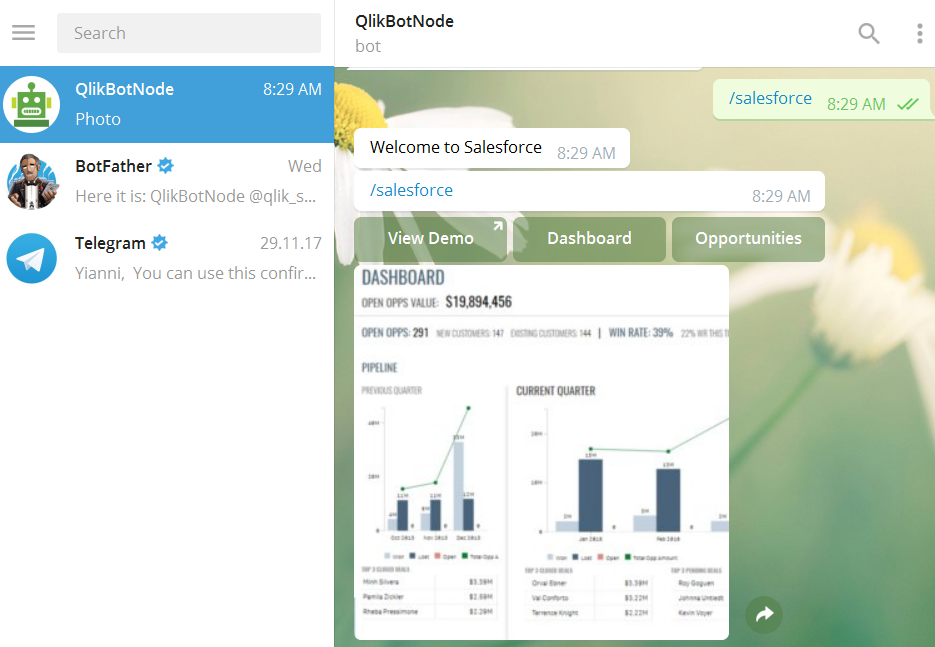
- Here, there are some buttons to get KPIs and one that takes you to the mashup for validation. Try them all!!!!!
- Click on the CIO button or type
/cioand then click on "Management" to get the set of KPIs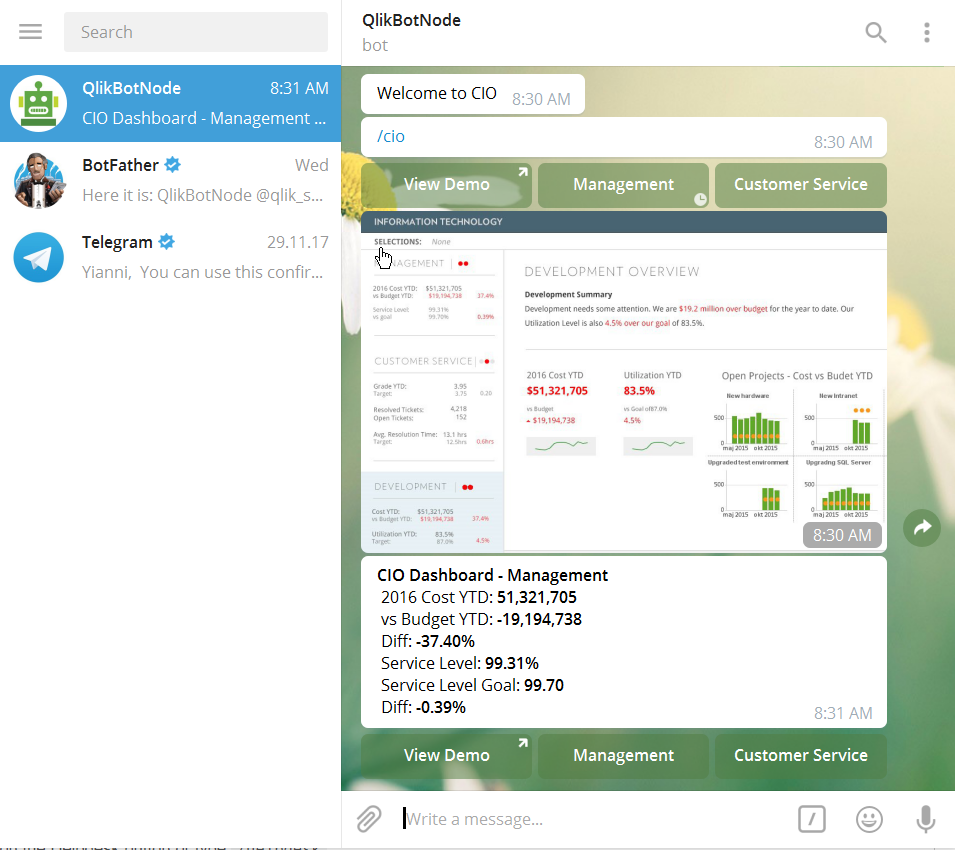
- Click on the Helpdesk button or type
/helpdesk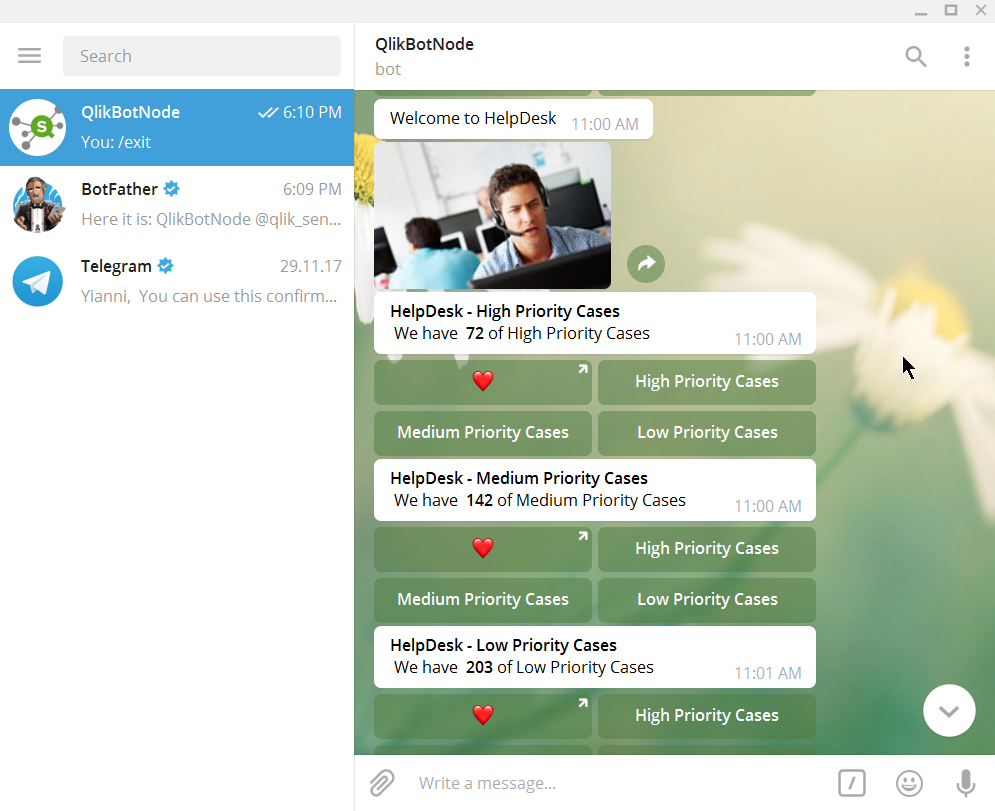
That's it! Now you can a have a Node.js server running with your QlikBotNode and you can start experimenting with KPI commands in the Telegram app.
The code is open sourced at GitHub - qlik-bots/QlikBotNode: QlikBotNode is a server build in nodejs, expressjs and MySql that co...
You must be a registered user to add a comment. If you've already registered, sign in. Otherwise, register and sign in.