Unlock a world of possibilities! Login now and discover the exclusive benefits awaiting you.
- Qlik Community
- :
- Support
- :
- Support
- :
- Knowledge
- :
- Support Articles
- :
- How to get started with SendGrid in Qlik Applicati...
- Subscribe to RSS Feed
- Mark as New
- Mark as Read
- Bookmark
- Subscribe
- Printer Friendly Page
- Report Inappropriate Content
How to get started with SendGrid in Qlik Application Automation
- Mark as New
- Bookmark
- Subscribe
- Mute
- Subscribe to RSS Feed
- Permalink
- Report Inappropriate Content
How to get started with SendGrid in Qlik Application Automation
Jul 18, 2023 7:09:48 AM
Sep 17, 2021 6:40:53 AM
This article provides an overview of the available blocks in the SendGrid connector in Qlik Application Automation. It will also review basic examples of creating an email, adding a contact, and using a Raw API Request block.
Fore more detailed SendGrid articles, see:
How to authenticate with SendGrid in Qlik Application Automation
How to send email attachments using SendGrid with Qlik Application Automation
How to use dynamic templates to send SendGrid emails with Qlik Application Automation
Content:
Creating an email
Let’s start with the example of a simple email.
After creating an automation:
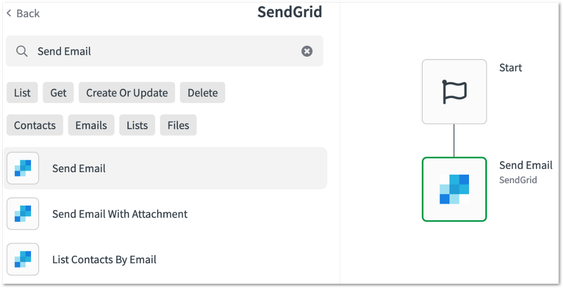
- From the left menu, select the "SendGrid" connector.
- Drag and drop the "Send Email" block and fill in the necessary fields.
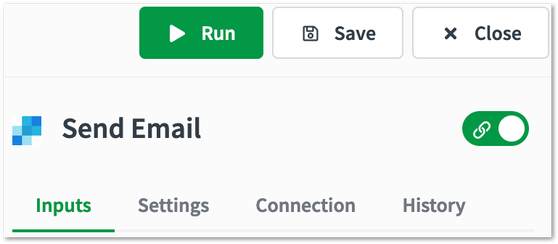
- Click on "Run" to send the email.
Adding a contact
To add a contact to your SendGrid account:
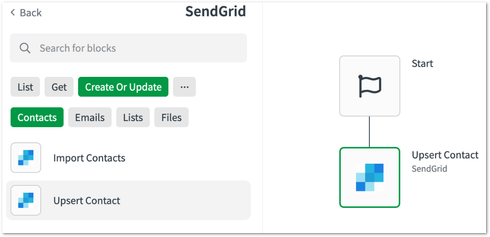
- From the left menu, select the "SendGrid" connector.
- Drag and drop the "Upsert Contact" block and fill in the necessary fields.
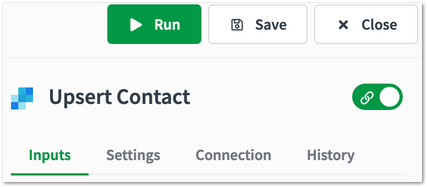
- Click on "Run".
Using a Raw API Request block
This example shows how to create a Raw API Request to get the amount of contacts in a specific contact list.
The SendGrid documentation for this can be found here.
In this case the URL path is "/marketing/lists/{id}/contacts/count". Notice that part of the path is before the ID and the other part after it.
- From the left menu, select the "SendGrid" connector.
- Drag and drop the "Raw API Get Request" block.
- Select the "Method". Here we will select "GET".
- Fill in the "Path Pre ID". This is the part of the path that comes before the ID (without the leading and trailing forward slash). In our case this is "marketing/lists".
- Fill in the "ID" of the list. You can eventually use the "List Contact Lists" block to retrieve this ID.
- Fill in the "Path Post ID". This is the part of the part that comes after the ID (without the leading forward slash). This field is optional because not all endpoints require this, but in this case it should be filled in, and it's "contacts/count".
- Click "Run".


