Unlock a world of possibilities! Login now and discover the exclusive benefits awaiting you.
- Qlik Community
- :
- Blogs
- :
- Technical
- :
- Design
- :
- qdt-components - A Components Library that can be ...
- Subscribe to RSS Feed
- Mark as New
- Mark as Read
- Bookmark
- Subscribe
- Printer Friendly Page
- Report Inappropriate Content

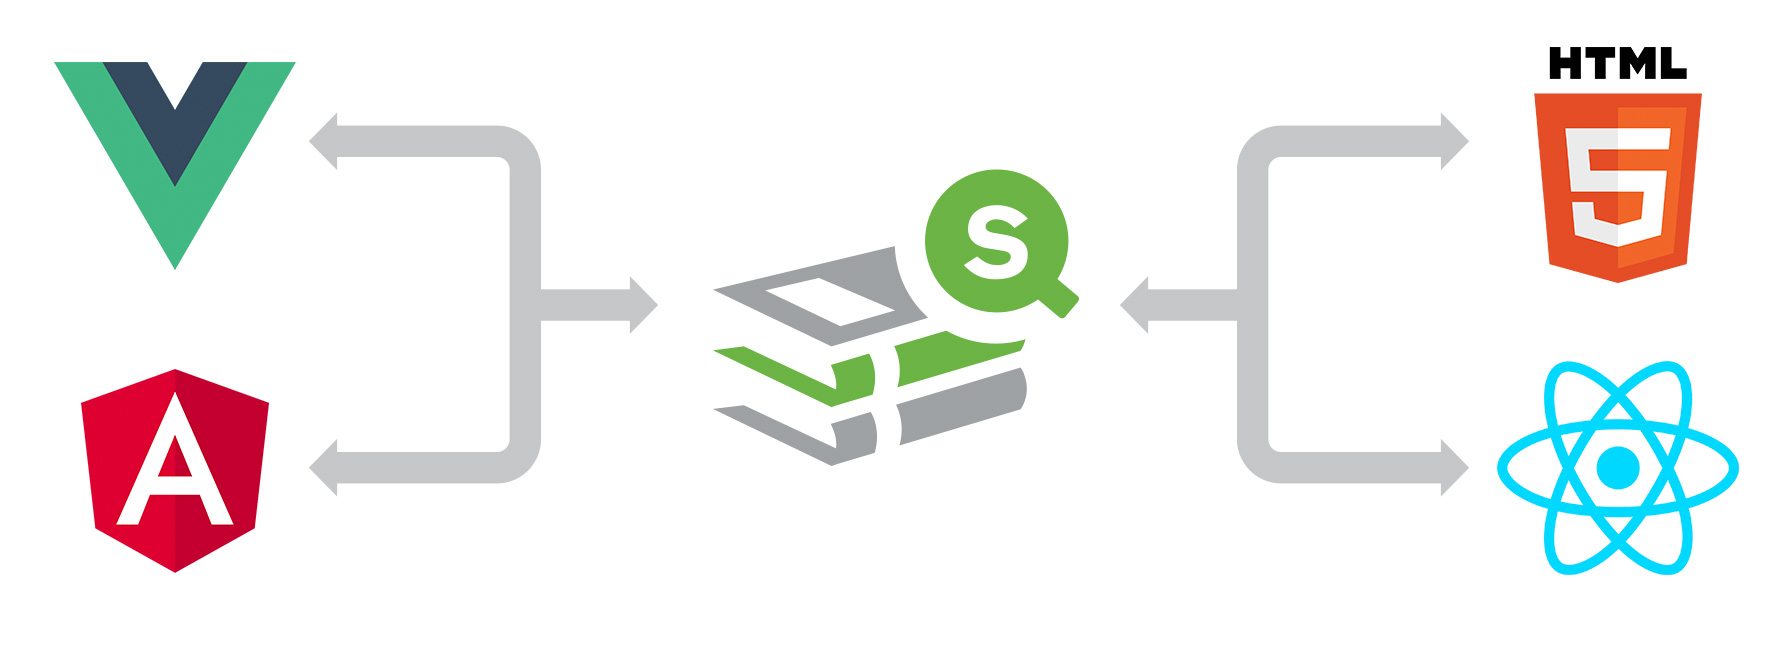
qdt-components (Qlik Demo Team Components) is a library of components that we have developed in the demo team and that have been used in most of our mashups found in webapps.qlik.com and demos.qlik.com. It's a collection of filters, tables, barcharts, selection toolbars, or even simple getting/creating object methods from the Visualization Api. You do not have to worry about connection strings, loading Requirejs, jQuery etc. Everything is taken care for you! The library can be used in a simple html page by loading the qdt-components.js or in React and Angular2+ via npm.
Today, I will show you how to load a simple object and create a session barchart, in simple html and Angular 5
Simple HTML
- In your HTML, add the following:
<head>
  <script type="text/javascript" src="qdt-components.js"></script>
</head>
<body>
  <div id="qdt1"></div>
</body>
- In your Javascript code, add:
var qConfig = {
   "config": {
      "host": "your-sense-server.com",
      "secure": true,
      "port": 443,
      "prefix": "/",
      "appId": "133dab5d-8f56-4d40-b3e0-a6b401391bde"
   },
   "connections": {
      "vizApi": true,
      "engineApi": false
   }
}

var QdtComponent = new window.qdtComponents.default(qConfig.config, qConfig.connections);

var element = document.getElementById('qdt1');

QdtComponent.render('QdtViz', {id: 'a5e0f12c-38f5-4da9-8f3f-0e4566b28398', height:'300px'}, element);
And you are done.
Simple HTML template: GitHub - qlik-demo-team/qdt-html-template: A simple html template that uses qdt-components
Live Demo: Simple html with qdt-components
Angular 5
- Install Angular CLI (https://cli.angular.io/) or get the prepared template
- Install the package:
npm install --save qdt-components
- Create new component by typing in the command line
ng generate component components/qdt-components --style=less
- In your qdt-component.component.ts import the library and import or set the qConfig with the connection details
import { Component, OnInit, ElementRef, Input } from '@angular/core';
// import * as qConfig from '../../../qConfig.json';

import QdtComponents from 'qdt-components';

let qConfig = {
   "config": {
      "host": "sense-demo.qlik.com",
      "secure": true,
      "port": 443,
      "prefix": "/",
      "appId": "133dab5d-8f56-4d40-b3e0-a6b401391bde"
   },
   "connections": {
      "vizApi": true,
      "engineApi": false
   }
}
- Replace the class with:
export class QdtComponentComponent implements OnInit {
   @Input() Component: Function;
   @Input() props: object;

   static QdtComponent = new QdtComponents(qConfig.config, qConfig.connections);

   constructor(private elementRef: ElementRef) { }

   ngOnInit() {
      QdtComponentComponent.QdtComponent.render(this.Component, this.props, this.elementRef.nativeElement);
   }
}
- After this, you can start using it in any other component. In the HTML, add:
<qdt-component [Component]="'QdtViz'" [props]="{id: 'a5e0f12c-38f5-4da9-8f3f-0e4566b28398', height:'300px'}"></qdt-component>
Angular Template: GitHub - qlik-demo-team/qdt-angular-template: An Angular 5 template that is using qdt-components for...
Live Demo Angular 5: https://webapps.qlik.com/qdt-components/angular5/index.html
Live Demo Angular 6: https://webapps.qlik.com/qdt-components/angular/index.html
React 16.3
Live Demo: https://webapps.qlik.com/qdt-components/react/index.html
Git Repo: https://github.com/qlik-demo-team/qdt-react-template
Vue 2.5
Live Demo: https://webapps.qlik.com/qdt-components/vue/index.html
Git Repo: https://github.com/qlik-demo-team/qdt-vue-template
qdt-components
Branch: Qlik Branch
Npm: qdt-components
Yianni
- « Previous
-
- 1
- 2
- 3
- 4
- Next »
You must be a registered user to add a comment. If you've already registered, sign in. Otherwise, register and sign in.