Unlock a world of possibilities! Login now and discover the exclusive benefits awaiting you.
- Qlik Community
- :
- Support
- :
- Support
- :
- Knowledge
- :
- Support Articles
- :
- How to send email attachments using SendGrid with ...
- Subscribe to RSS Feed
- Mark as New
- Mark as Read
- Bookmark
- Subscribe
- Printer Friendly Page
- Report Inappropriate Content
How to send email attachments using SendGrid with Qlik Application Automation
- Mark as New
- Bookmark
- Subscribe
- Mute
- Subscribe to RSS Feed
- Permalink
- Report Inappropriate Content
How to send email attachments using SendGrid with Qlik Application Automation
Jul 18, 2023 7:00:52 AM
Sep 17, 2021 7:02:48 AM
This articles gives a basic overview of how to send an email attachment using the SendGrid connector in Qlik Application Automation.
For more information about how to use the SendGrid connector, see How to get started with SendGrid in Qlik Application Automation.
Content:
- Creating the attachments to send
- Creating the Base64 content:
- Sending one attachment:
- Sending a list of multiple attachments:
Creating the attachments to send
To compose the email, use the "Send Email" block.
The attachment field allows you to add one attachment or a list of multiple attachments that you’d like to send with the email.
There are three attachment types that you can choose from:
- Email Base 64 File Attachment
Use the Email Base 64 File Attachment block to send any Base64 encoded file as an attachment. - Email CSV Attachment
Use the Email CSV Attachment block to create a custom CSV that can be sent. - Email Text Attachment
Use the Email Text Attachment block to create an attachment from any text type (this can be Base64 encoded, but does not have to).
Creating the Base64 content:
All attachments need to be Base64 encoded. This is one possible way to create a Base64 encoded file:
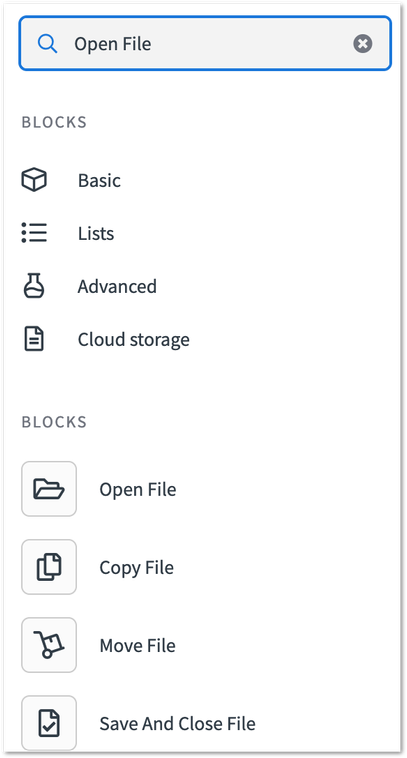
- Drag and drop the "Open File" block.
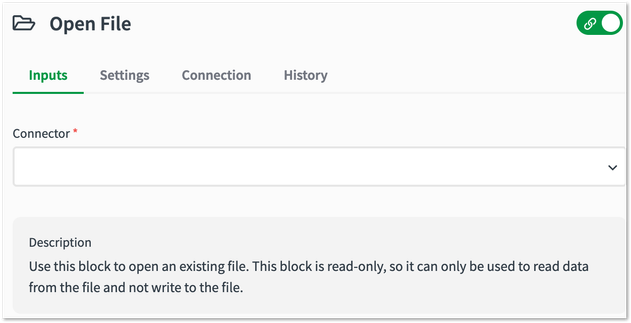
- Select the storage "Connector" that you’d like to use. Dropbox is used for this example.
- Fill in the Path to the file that should be encoded.
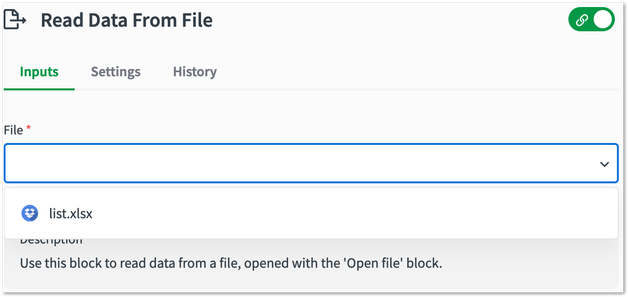
- Drag and drop the "Read Data From File" block and select the file that was just opened.
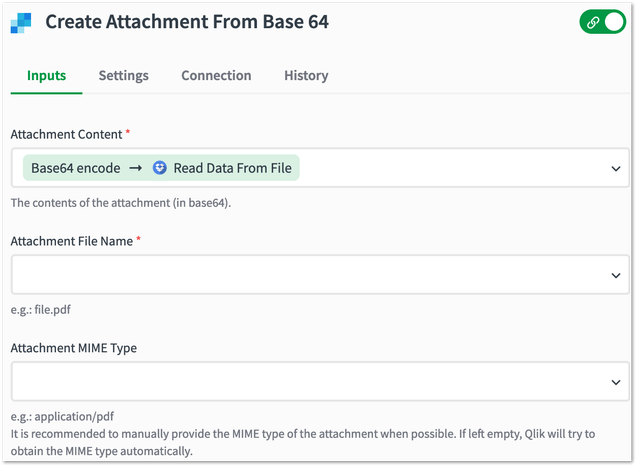
- Drag and drop the "Create Attachment From Base 64" block and add the content from the "Read Data From File" block to the Attachment Content field.
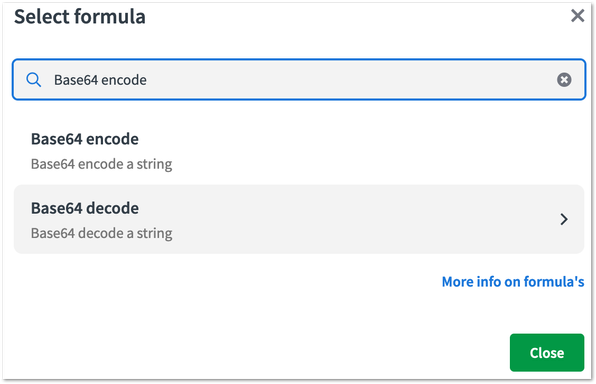
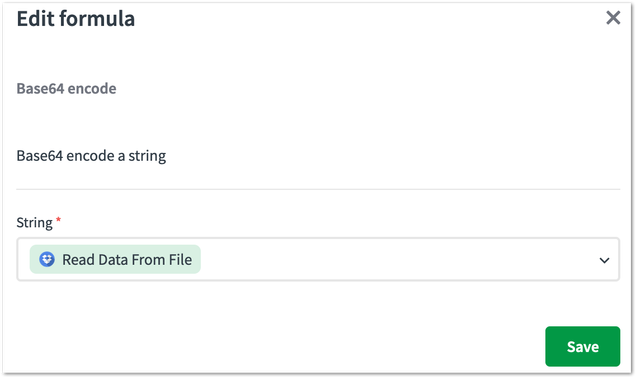
- Click on the content and select "Add Formula".
- Search for "Base64 encode" and click on it.
- Make sure the correct content is used and click on "Save".
- Add the file's name and optionally also the MIME type.
Sending one attachment:
- Drag and drop one of the three attachment blocks.
- Add this block to the attachment field of the Send Email block.
Sending a list of multiple attachments:
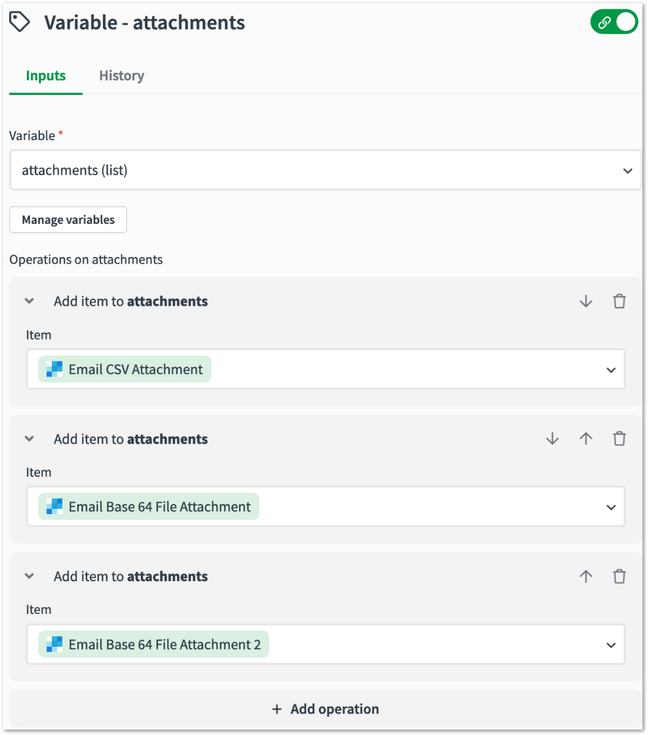
- Create the various attachments using any or all of the three attachment blocks.
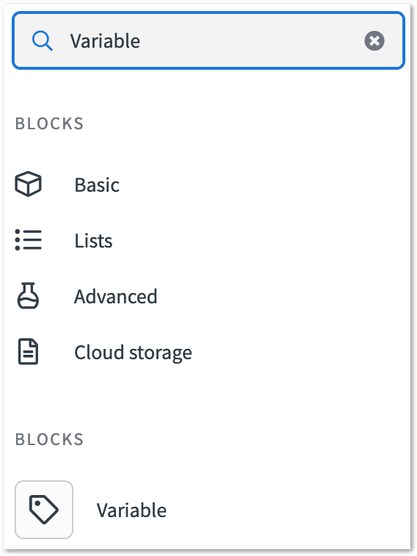
- Create a variable by drag and dropping the "Variable" block (you can search for it in the blocks search box).
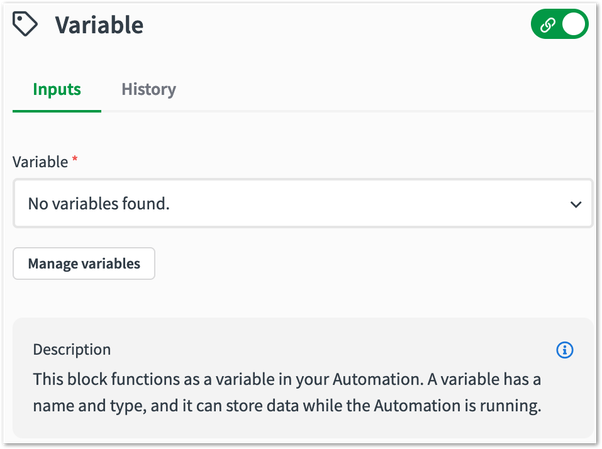
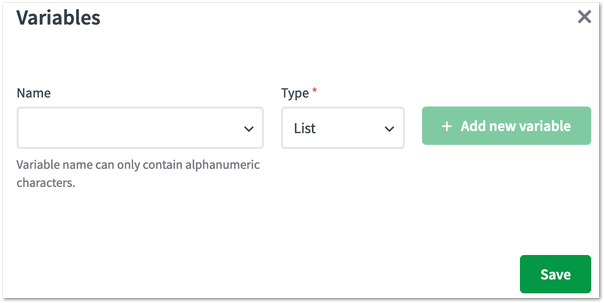
- Click "Manage variables" in the Variable block panel (right panel).
- Give the variable a Name, and set the "Type" to "List". Then click on "Save".
- Set the variable you created, and add the various attachments to the variable.
- Add the variable to the attachment field of Send Email block.

